
Table of Contents
Introduction
In first part of this tutorial series we get started with the Laravel eloquent relationship, the goal is to provide details on each and every relationship available from laravel framework.
Read – How to Implement Laravel Eloquent One to One Relationship
In this tutorial I am going to provide details on usage and implementation of One-To-Many relationship along with the example.
What is One-To-Many Relationship?
This is one of the most usable relationship amongst the all relationship available in laravel eloquent ORM.
If you don’t know what is eloquent ORM so just a quick recap for you – Eloquent ORM is php package which is included in laravel framework it is ActiveRecord implementation to work with your database. so each database table will have corresponding Model which is going to be used to interact with the given table and this model will allow you to do all operating within that particular table such as select, insert, update, delete etc
One to many is very common and required relationship in case of any project your coming along.
There are many examples available:
- A user can have many phone numbers
- A user can have many blog posts
- A post can have many comments
- A user can have many project
- A project can have many tasks
How to implement One-To-Many Relationship?
So let get’s started with a simple example to demonstrate how we can implement and utilise One-To-Many relations.
Alright let’s take real quick and very simple example here for A User who has multiple blog posts.
So basically we will have an ability into our application to store/manage multiple posts for each user.
Create Model and Migration file:
Use following command to generate Laravel eloquent model and migration file
php artisan make:model Post -m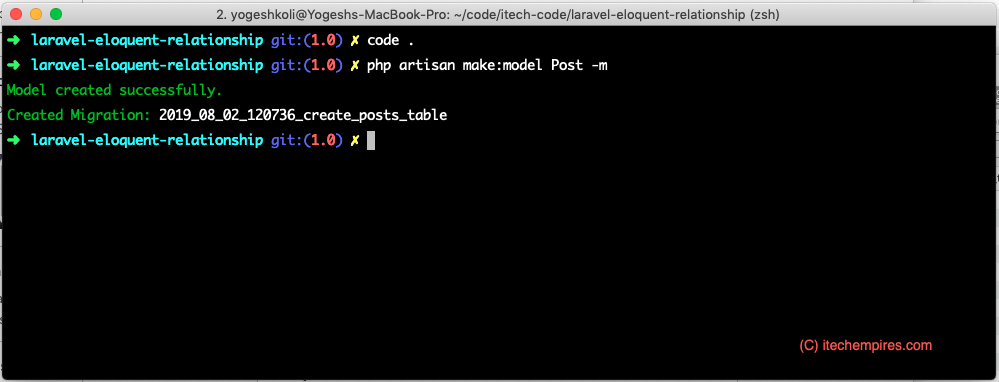
Go ahead and open newly generated migration file and following table definition (I mean required cells)
<?php

use Illuminate\Support\Facades\Schema;
use Illuminate\Database\Schema\Blueprint;
use Illuminate\Database\Migrations\Migration;

class CreatePostsTable extends Migration
{
    /**
     * Run the migrations.
     *
     * @return void
     */
    public function up()
    {
        Schema::create('posts', function (Blueprint $table) {
            $table->bigIncrements('id');
            $table->unsignedInteger('user_id');
            $table->string('title');
            $table->text('body');
            $table->timestamps();
        });
    }

    /**
     * Reverse the migrations.
     *
     * @return void
     */
    public function down()
    {
        Schema::dropIfExists('posts');
    }
}
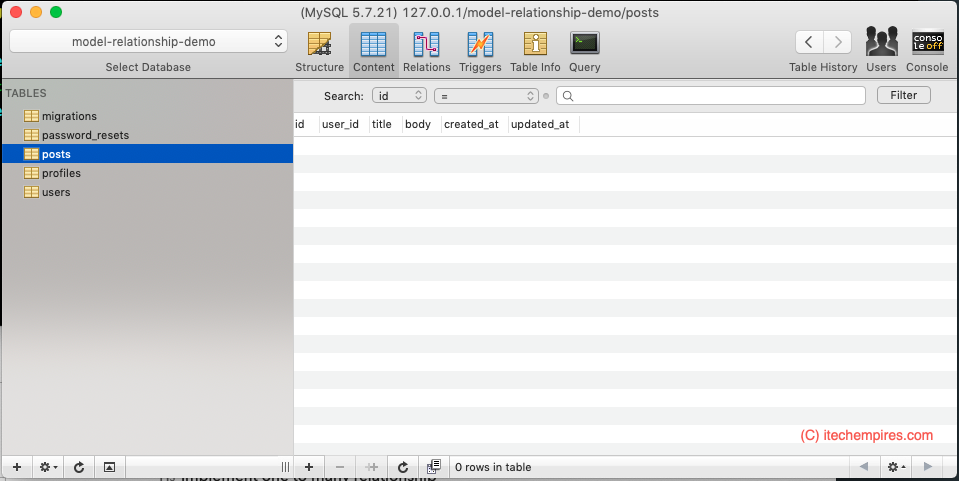
Now you can migrate the database to create our new table called “posts” use following command to do that.
php artisan migrate
Next if you switch over the database to checkout the table now you can see that our new table is ready.
Implement one to many relationship
Let’s see a quick example of Implement.
First if you see in our database we don’e any users or posts at the movement, let’s hard code to enter dummy user for now:
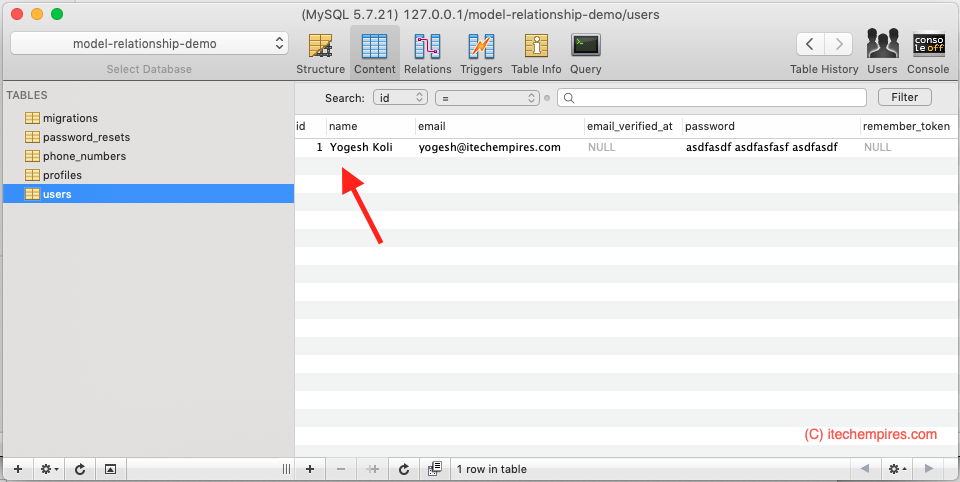
So I have added myself as a user alright, next we will use database factory to generate lot of posts for this user.
Create database factory for post to load data:
Execute following command to create new model factory:
php artisan make:factory PostFactory -m Post
This command will generate following factory for our Post model under database/factories:
<?php

use Faker\Generator as Faker;

$factory->define(App\Post::class, function (Faker $faker) {
    /return/ [
        ////
    ];
});
Think of factory as a blueprint for how our post might look like, this will help writing our test as well.
okay by using factory and php thinker I am going to create 20 post for our user.
Learn more about database seeding and Laravel database Factories here – Learn database seeding in Laravel 5.8 from scratch
So execute following commands from the terminal if you on windows then of course use command prompt:
Navigate to your laravel application folder:
php artisan tinker

factory(App\Post::class, 20)->create();
This how output would look alike from the above command:
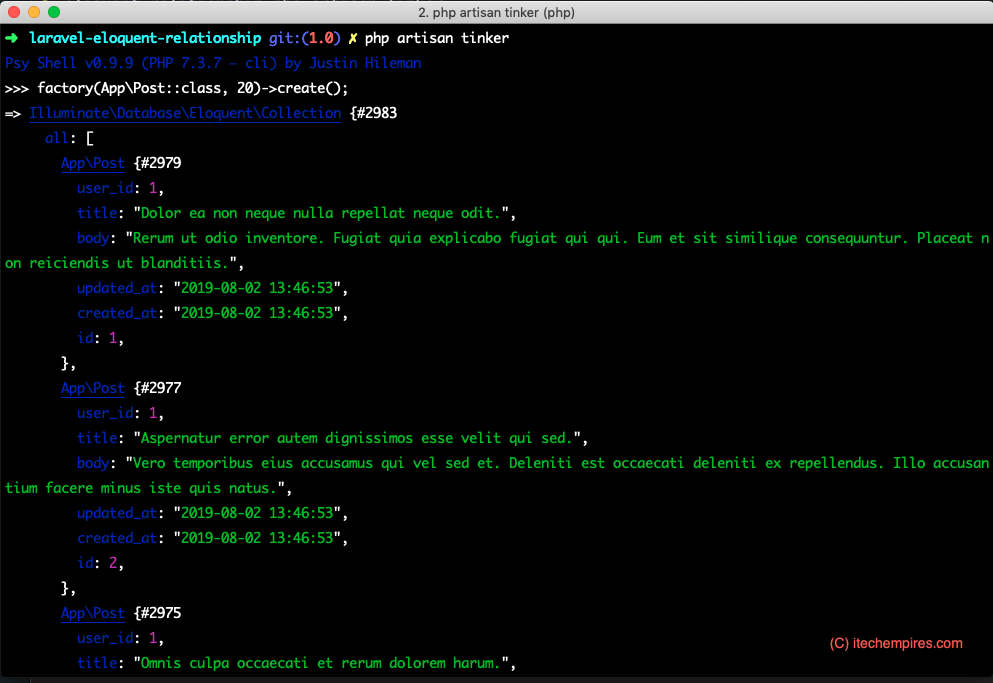
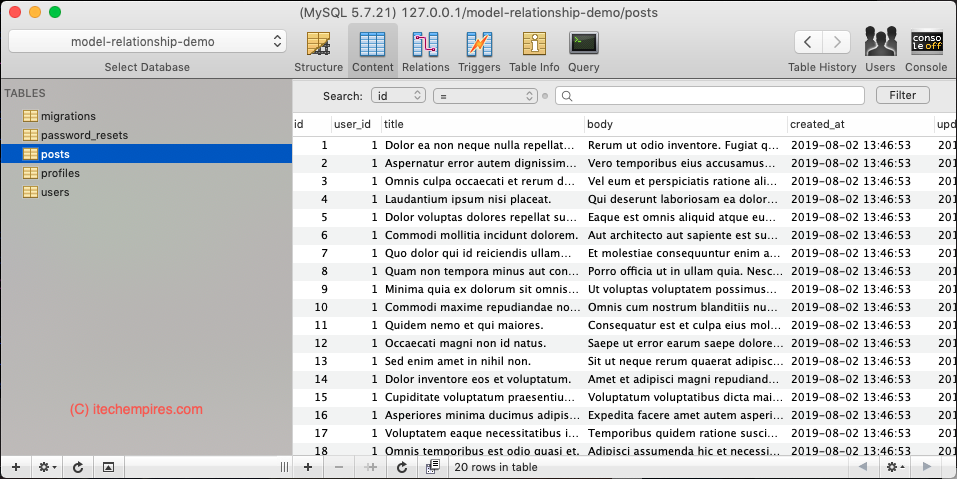
And if you go back to the mysql database you will see that post table has load with the 20 new posts with associated user id 1.
Define Relationship between User and Post Model
Go back to the editor where you have your laravel application open and open up User model from app/User.php:
User can have many post so let’s define it as showing below:
public function posts()
{
    return $this->hasMany(Post::class);
}
So out User.php Model will look like this:
<?php

namespace App;

use Illuminate\Notifications\Notifiable;
use Illuminate\Contracts\Auth\MustVerifyEmail;
use Illuminate\Foundation\Auth\User as Authenticatable;

class User extends Authenticatable
{
    use Notifiable;

    /**
     * The attributes that are mass assignable.
     *
     * @var array
     */
    protected $fillable = [
        'name', 'email', 'password',
    ];

    /**
     * The attributes that should be hidden for arrays.
     *
     * @var array
     */
    protected $hidden = [
        'password', 'remember_token',
    ];

    /**
     * The attributes that should be cast to native types.
     *
     * @var array
     */
    protected $casts = [
        'email_verified_at' => 'datetime',
    ];

    public function profile()
    {
        return $this->hasOne(Profile::class);
    }

    public function posts()
    {
        return $this->hasMany(Post::class);
    }
}
Relationship Usage:
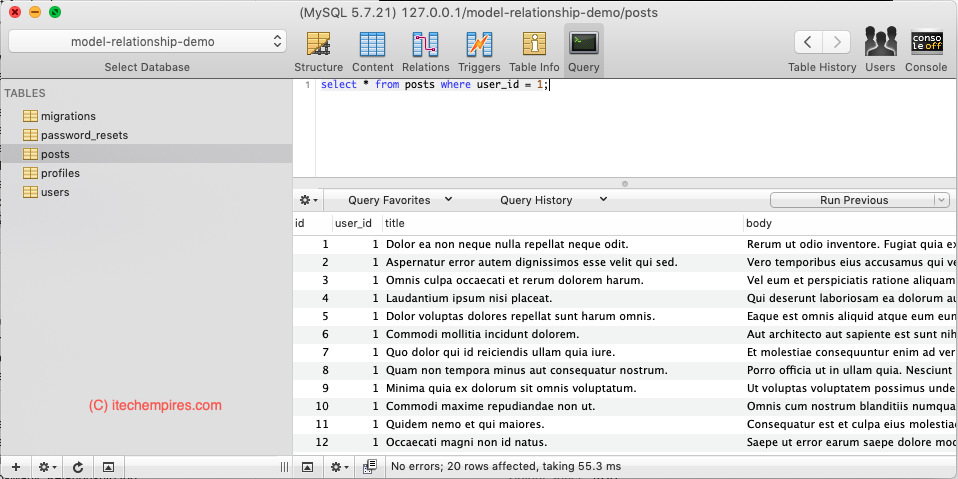
So basically if your going to fetch number of post the particular user from SQL and this how your are gone do that.
select * from posts where user_id = 1;And this will show up the result depending on the user id:
Let’s test same thing with Eloquent Model, back to terminal and boot up tinker:
php artisan tinker$user = App\User::find(1);
$user->posts;This is how output is going to look alike:

So what happening here is we created that one to many relationship and it is allowing us to fetch result programatically dynamically like a property. but behind the scenes it is going to execute SQL query, but we don’t have to write that query more in the project laravel eloquent will do that for us.
This is the convenient way that Eloquent provides us, we can represent this basic relationship.
As long as your following sensible defaults, eloquent will work for the proper foreign key name but again if you need to override the defaults you can do as showing below:
Let’s say instead of user_id you have persone_id or UID or u_id whatever it is, you define those like this:
public function posts()
{
    return $this->hasMany(Post::class, 'persone_id');
}
In place of persone_id you can use your foreign key to the post table.
So default accepts following options:
hasMany($related, $foreignKey = null, $localKey = null)Where the $localKey means a primary key from your table.
I hope you understand the one-to-many relationship using this tutorial.
If you get any question you can always comment to reach out.
