
Table of Contents
What is Database Seeding?
Database seeding is basically a process of loading test data into your application, the data can be anything according to your project requirements.
Database seeding is a process where an initial set of data is loaded into a database when application is being installed
Also you can even seed usable data for example sometime we need predefined tables with default values so we can utilise then in the application.
Database seeding is very power full feature from laravel application it helps a lot.
In this tutorial I will provide a complete guide on database seeding starting from creating application to seeding the data.
Create new Laravel Application
Create new laravel application using laravel installer or composer. Or you can use your existing laravel application as well.
Execute following command to create new project:
laravel new database-seeding-demoOR use composer
composer create-project --prefer-dist laravel/laravel database-seeding-demoDatabase setup
We will use MySql for our database storage go ahead and login to your mysql server and create database.
Next open your project into your favourite code editor and update .env file to configure database settings as showing below:
DB_CONNECTION=mysql
DB_HOST=127.0.0.1
DB_PORT=3306
DB_DATABASE=database-seeding-demo
DB_USERNAME=root
DB_PASSWORD=
Please make sure to change database username, password and database name to match with your mysql database user and the database that you have created.
Generate new Migration File and Model Class
We will need a new table to store data and eloquent model class associated with it.
Generate Files:
The following command will create both the file at the same time.
Open your terminal and execute following command from the root of your application:
php artisan make:model Post -m
Setup Migration Table and Model Class:
Now go ahed and edit migration file to have few more columns to the database table.
<?php

use Illuminate\Support\Facades\Schema;
use Illuminate\Database\Schema\Blueprint;
use Illuminate\Database\Migrations\Migration;

class CreatePostsTable extends Migration
{
    /**
     * Run the migrations.
     *
     * @return void
     */
    public function up()
    {
        Schema::create('posts', function (Blueprint $table) {
            $table->bigIncrements('id');
            $table->string('title');
            $table->string('description');
            $table->timestamps();
        });
    }

    /**
     * Reverse the migrations.
     *
     * @return void
     */
    public function down()
    {
        Schema::dropIfExists('posts');
    }
}
Now Update the Post model class to have fillable attribute so that it will allow to insert new records
<?php

namespace App;

use Illuminate\Database\Eloquent\Model;

class Post extends Model
{
    protected $fillable = [];
}
Migrate the database:
Now that we have our migration file ready we can migrate it to create new table:
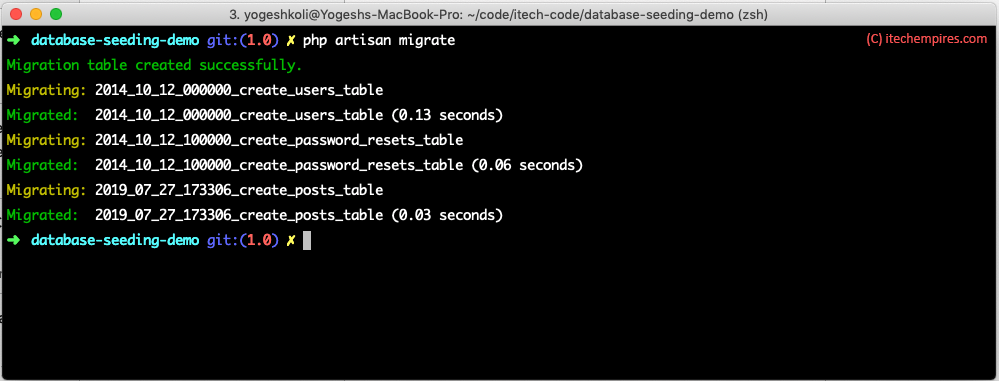
Execute following artisan command to migrate the database
php artisan migrateYou will see following result if you’re migrating the database first time like I did if not then you should see the specific result to the migrated file.
Generate Database Seeder
Laravel stores all the seed classes inside database/seeds directory. where you will find DatabaseSeeder class define to run all the seeding operation, we can easily use call method to execute other seed classed from the run method.
To Generate a seeder class we can use make:seeder artisan command it will generate new seeder class file inside database/seeds directory.
Execute following command to create Post table Seeder:
php artisan make:seeder PostsTableSeeder
You can locate PostsTableSeeder.php file and as showing below:
<?php
use Illuminate\Database\Seeder;
use App\Post;
class PostsTableSeeder extends Seeder
{
//**/
/* Run the database seeds./
/*/
/* @return void/
/*//
public function run()
{
Post::create([
'title' => Str::random(10),
'description' => Str::random(50),
]);
}
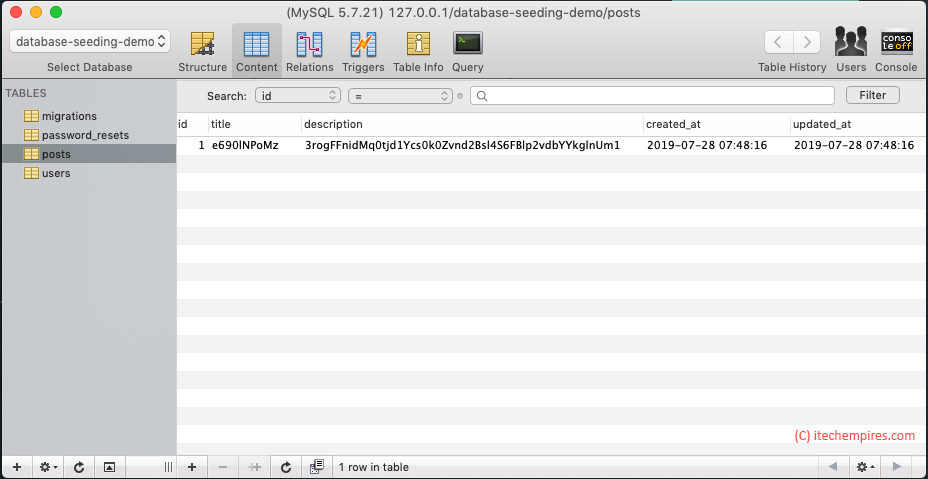
}From the above seeder class we are asking to create a record with random values.
Now Register new seeder into DatabaseSeeder class:
<?php

use Illuminate\Database\Seeder;

class DatabaseSeeder extends Seeder
{
    /**
     * Seed the application's database.
     *
     * @return void
     */
    public function run()
    {
        $this->call(PostsTableSeeder::class);
    }
}
Running Database Seeders
Our next is run newly created database seeder, use following command to execute database seeders.
Note – Sometime if you running into issue while executing seeder you may need to regenerate composers autoloader using following command:
composer dump-autoloadRun seeder with default db:seed artisan command:
php artisan db:seed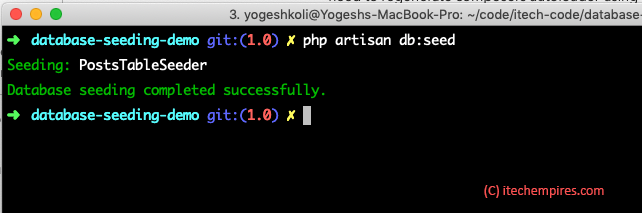
We can also run specific seeder class by seeding —class option to db:seed command:
php artisan db:seed --class=PostsTableSeederYou can checkout MySql database to verify whether record has inserted or not
Database seeding with Model Factories
Of course, manually specifying the records/attributes for each model seed is not good idea, instead of that we can use model factories to generate large amount of data.
Generate new Factory:
Generate new PostFactory class using command showing below:
php artisan make:factory PostFactory --model=PostThe new PostFactory will be stored inside database/factories directory.
Go ahead and make change to the factory file as showing below:
<?php

//* @var $factory \Illuminate\Database\Eloquent\Factory *//

use App\Post;
use Faker\Generator as Faker;

$factory->define(Post::class, function (Faker $faker) {
    /return/ [
        'title' => $faker->title,
        'description' => $faker->text(200)
    ];
});
Use Model Factory with Seeder Class:
Now instead of using direct value we will our model factory to generate multiple test records:
Open PostsTableSeeder.php file from seeds directory and make following changes:
<?php
use Illuminate\Database\Seeder;
use App\Post;
class PostsTableSeeder extends Seeder
{
//**/
/* Run the database seeds./
/*/
/* @return void/
/*//
public function run()
{
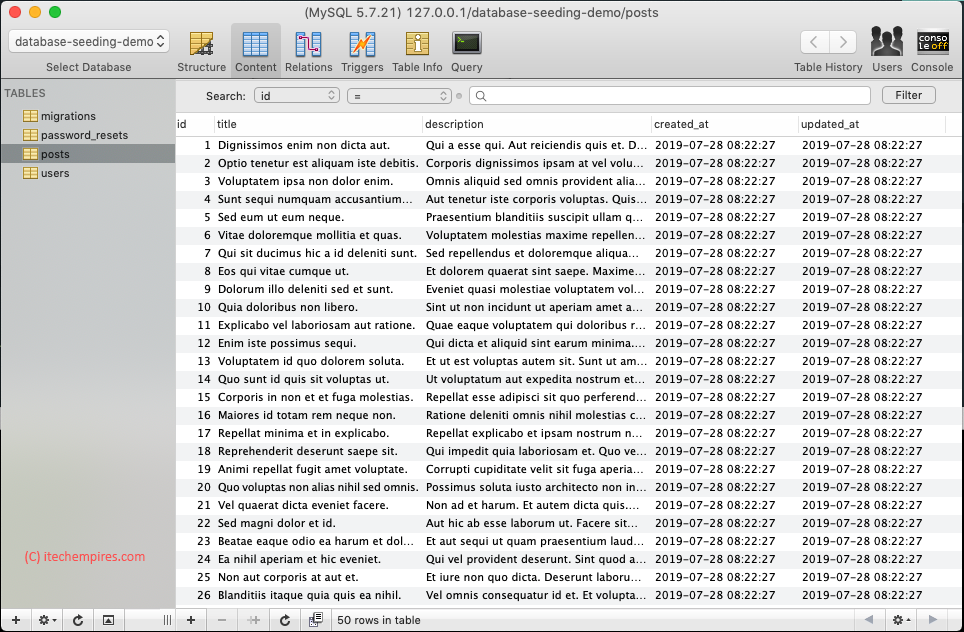
factory(Post::class, 50)->create();
}
}Now you can execute db:seed command again to insert 50 users:
php artisan db:seed
Checkout database to verify:
We are done!
let me know if you get any issues using this tutorial in comment section below. Thanks for reading.