
In last tutorial Setting up the React Development Environment you have done setting up the React Development Environment if not please visit tutorial and make your machine ready for the react applications.
I assume that your system is ready to go for the react application, let’s start to create the app.
Table of Contents
Create React App:
Now let’s use create-react-app package to create new React Application, so open up the terminal or command prompt if you on windows and run following command:
npx create-react-app first-react-appYou can also use npm init in place npx that only comes with npm 6 or higher version.
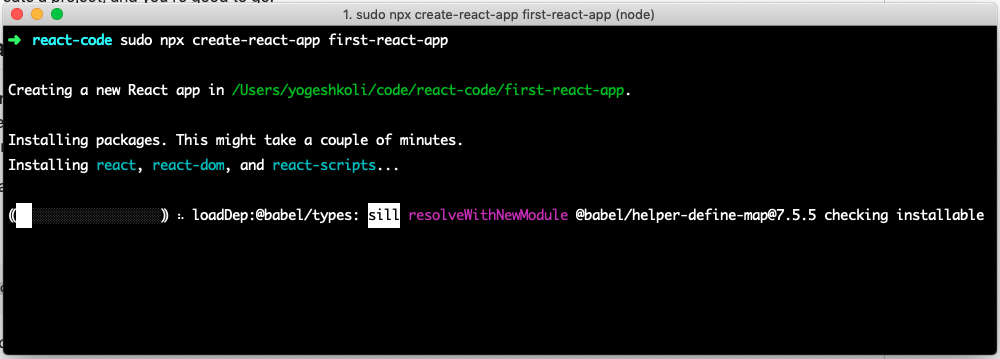
So the above command is going to install React as well as the all third party libraries we need, so it is going to install following:
- Development Server – Running our application
- Webpack – Bundling our files
- Babel – Compiling our Javascript code
And as well as bunch of other tools those are going to help up building React Application.
So when you creating React application using Create React App package you don’t have to do any configuration all the configuration is done for us by this package, we can call it Zero Configuration.
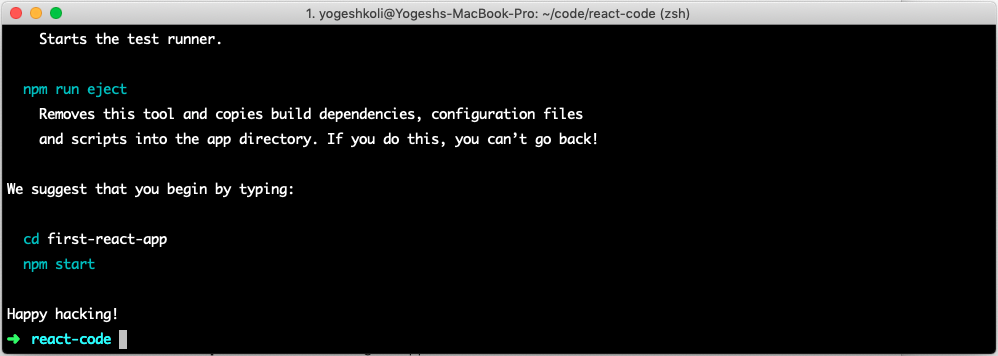
However if you want to customise this configuration for production environment we can always eject by running npm run eject but we are not look at right now this is outside the scope of this tutorial.
Starting React App
Now that our application is created so let’s go to this new folder called first-react-app and install remaining dependencies and start our application
So run following commands:
cd first-react-app
npm install
npm start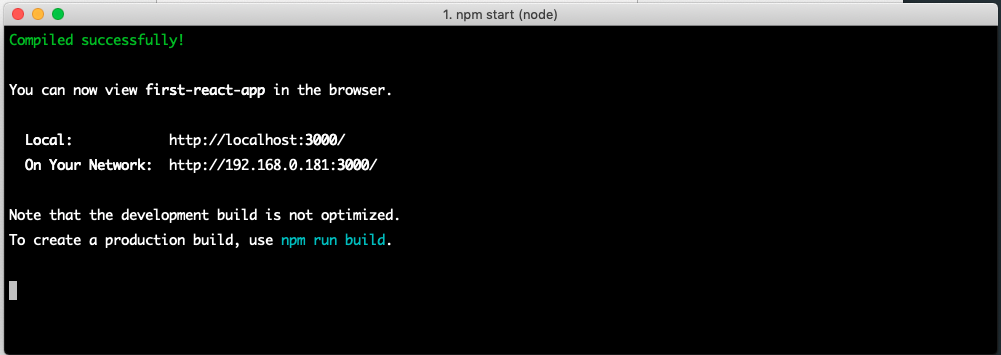
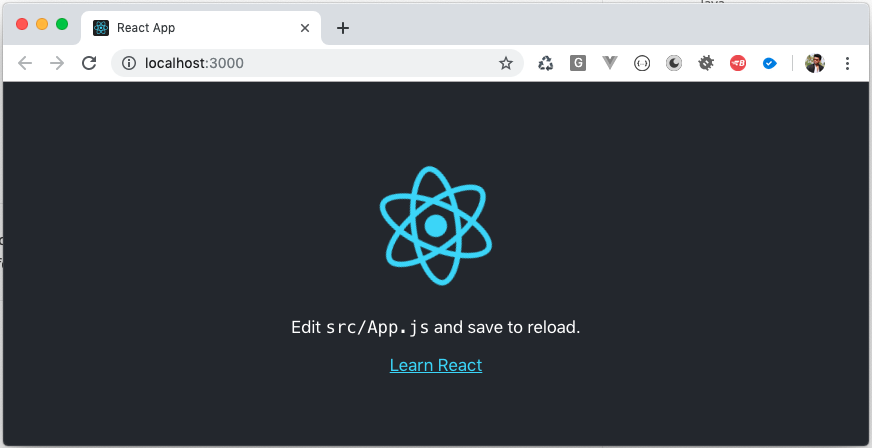
The npm start command will launch our development server on port 3000 and open up chrome browser or your default browser pointing to http://localhost:3000 as showing below:
Understating React App Folder Structure
Now let’s get back to the VS code and open this application in VS code and see what we have in this folder
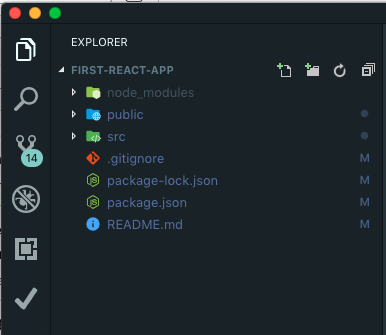
Here we have three folders node_module, public and src.
node_modules – Is the folder which were we have all the third party libraries as well as React itself, we never to make changes to this folder.
public – We got this public folder where we have the public assets of our application such as favicon.ico, index.html. manifest.json – This files includes bunch of meta data of application you don’t have to worry about this for now.
Okay if you open up the index.html it is very simple template it doest not really have anything apart from bunch of meta tags in the head section as well as links to our manifest.json file and favourite icon.
If you look further below in the body section you can single div with id root:
<div id="root"></div>This is were our react application is going to appear, so this div is the container of our react application.
src – This is a source folder where we have basic component that is App component and that App component is responsible for rendering black panel with logo, look at the browser window again, so that is the output of this component.
App.js:
If you look at the App.js file from src folder, you can see that we are ES6 classes, we have class called App that extends Component which is one of the built in class in React.
import React from 'react';
import logo from './logo.svg';
import './App.css';

function App() {
  return (
    <div className="App">
      <header className="App-header">
        <img src={logo} className="App-logo" alt="logo" />
        <p>
          Edit <code>src/App.js</code> and save to reload.
        </p>
        <a
          className="App-link"
          href="https://reactjs.org"
          target="_blank"
          rel="noopener noreferrer"
        >
          Learn React
        </a>
      </header>
    </div>
  );
}

export default App;
As a React developer you need understand what classes are and how to use them, if you are not familiar with modern features from ES6 no worries in the next tutorial I am going to cover all the modern features from ES6 which is gone help you grow as React Developer.
App.js return() function:
Now if you look at the App class there we have return statement where we return markup this something you probably have not seen before in .JS file because we can not have markup like this in Javascript. If you note this is not the string or either HTML this actually a JSX which stands for Javascript XML
We use this JSX syntax to describe how components UI should look like, so if you look at the markup again this what we are currently seeing on browser this markup is responsible to generate that black background with React logo and a text in simple words this is the output of our App Component.
Quick note – to make this markup working in browser, we have to pass this code thought Babel which is modern JavaScript compiler, so Babel will take this JSX syntax and convert to plain JavaScript syntax that browser can understand. You don’t have to worry about this this is automatically going to happen because we already have configuration ready.
So make sure to alway use JSX Syntax in component and leave up to babel to compile to Javascript
App.css:
Back to our files section, where we have App.css file under src folder, App.css includes all the css for App component, if you checkout App.js component the same file is already imported at the top the component import section.
index.js:
We also have index.js file inside src folder which is the entry point of our application.
index.css:
Similar to the app.css index.css is responsible for styling app.
Logo.svg
which is asset to use on webpage.
serviceWorker.js:
Finally serviceWorker.js file basically what this file does is servers assets from a local cache in a production environment.
