
Table of Contents
#Introduction:
As we all know email verification is an must have feature for all web application running around the word, that being an essential need for the applications the Laravel has come across the out of the box inbuilt solution for us and we can really easily implement this into Laravel 5.7 projects.
This article is going to provide complete guide on how you can enable email verification feature into your Laravel 5.7 project.
So let’s get started:
Before going to proceed make sure that your development server meets following requirements, you can do this by simply checking phpinfo();output.
- PHP >= 7.1.3
- OpenSSL PHP Extension
- PDO PHP Extension
- Mbstring PHP Extension
- Tokenizer PHP Extension
- XML PHP Extension
- XML PHP Extension
- Ctype PHP Extension
- JSON PHP Extension
If you server meets the requirements you can proceed with the following steps:
#Create new Laravel 5.7 Project
Create brand new laravel project using laravel installer
$ laravel new laravel57OR using composer
$ composer create-project --prefer-dist laravel/laravel laravel57The above command will get your the latest version of laravel framework.
#Database Setup:
Go ahead and open your project into your code editor and update database settings from .env file:
DB_CONNECTION=mysql
DB_HOST=127.0.0.1
DB_PORT=3306
DB_DATABASE=database-name
DB_USERNAME=root
DB_PASSWORD=
Next migrate the database tables using php artisan command:
$ php artisan migrateMake sure that migration command run successfully, if not re-check your database settings
Migration table created successfully.
Migrating: 2014_10_12_000000_create_users_table
Migrated:  2014_10_12_000000_create_users_table
Migrating: 2014_10_12_100000_create_password_resets_table
Migrated:  2014_10_12_100000_create_password_resets_table
If you look at the database your should get tables created accordingly and most specifically checkout the users table it has new field added from laravel that is email_verified_at as showing below:

Now we are all set to go with laravel 5.7 project along with database setup.
#Email Driver Setup
Next you will have setup your email drivers, there are several ways are provided in laravel such as smtp, sendmail, mailgun, mandrill, ses, sparkpost, array and log.
I always prefer to use SMTP or SES while going into the production mode and when it comets to development I prefer to use log so it makes developers life is to track emails.
For this tutorial I am going to use SMTP, so that I can show you the real life examples of using email verification process.
Go ahead and open .env file again and update mail driver settings as showing below, I am using gmail smtp if you do to then make sure you create APP password for your gmail account to use otherwise you might get an error related to security issues.
MAIL_DRIVER=smtp
MAIL_HOST=smtp.gmail.com
MAIL_PORT=587
MAIL_USERNAME=youremail@gmail.com
MAIL_PASSWORD=passwordfortheemail
MAIL_ENCRYPTION=tls
#Frontend Scaffolding
As we know laravel provide really quick way to generate basic login registration view and routes associated.
We are going to use those here to demonstrate easily.
Go ahead and use following command to generate default front views and routes.
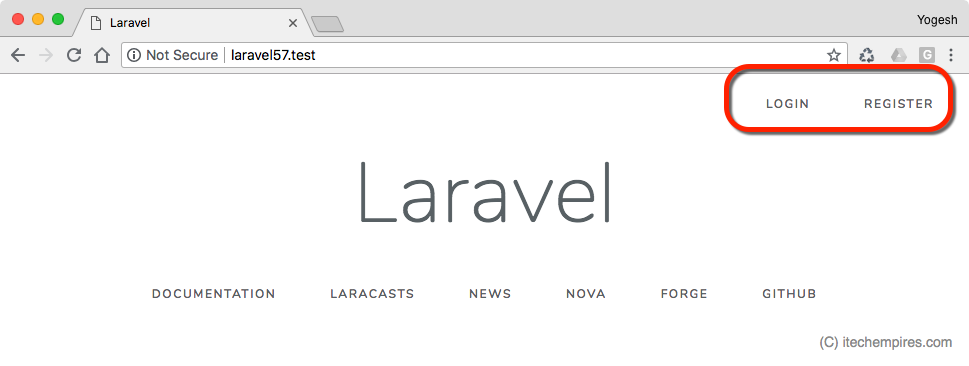
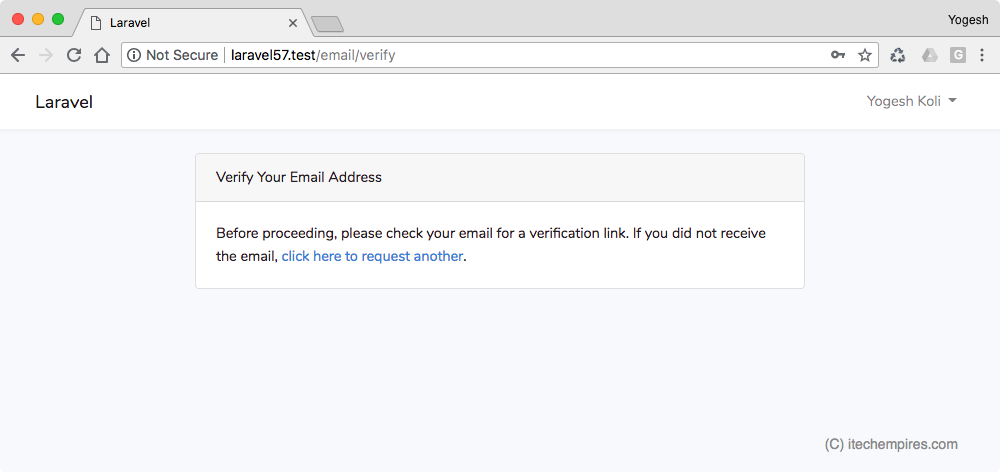
$ php artisan make:authFrom laravel 5.7 the make:auth command has one more extra view added to the resources/views/auth/verify.blade.php, we can customise it according to our needs. This is view user is going to get when they are log in but not verified there email address.
So of if you view project in browser you should see login and register links added to the welcome page and can navigate to the pages:
#Prepare Model to implement MustVerify Interface
Laravel comes with the extra interface with User model, but default it is not ejected into the class it is according to the users requirements so whether they want to have email verification step or not.
So next will have update User model to implement that so go ahead and and update Users class as showing below:
<?php

namespace App;

use Illuminate\Auth\MustVerifyEmail;
use Illuminate\Notifications\Notifiable;
use Illuminate\Foundation\Auth\User as Authenticatable;
use Illuminate\Contracts\Auth\MustVerifyEmail as MustVerifyEmailContract;

class User extends Authenticatable implements MustVerifyEmailContract
{
    use Notifiable;

    /**
     * The attributes that are mass assignable.
     *
     * @var array
     */
    protected $fillable = [
        'name', 'email', 'password',
    ];

    /**
     * The attributes that should be hidden for arrays.
     *
     * @var array
     */
    protected $hidden = [
        'password', 'remember_token',
    ];
}
#Enable Verification on Routing
Next will have to provide extract parameter to the Auth::routes(); to ask using email verification feature. Basically it registers new Verification controller with the route actions.
The new controller is located under app/Http/Controllers/Auth/VerificationController.php this controller is responsible for sending verification email messages and also resending the message if user does not received the first email message.
Go ahed and open web.php file from routes folder and update as showing below:
<?php

Route::get('/', function () {
    return view('welcome');
});

Auth::routes(['verify' => true]);

Route::get('/home', 'HomeController@index')->name('home');
#Protect Routes
Laravel has new route middleware available for us to use when we enable email verification, to use that simply do the same as we always do when whenever we use middleware with the controller, add new verified middleware into the constructer as showing below:
<?php

namespace App\Http\Controllers;

use Illuminate\Http\Request;

class HomeController extends Controller
{
    /**
     * Create a new controller instance.
     *
     * @return void
     */
    public function __construct()
    {
        $this->middleware(['auth', 'verified']);
    }

    /**
     * Show the application dashboard.
     *
     * @return \Illuminate\Http\Response
     */
    public function index()
    {
        return view('home');
    }
}
If you don’t want user home as your default home page you can always use the same middleware with your new route and you can also modify redirection path when user get’s successfully verified.
You can simple open VerificationController from Auth folder and update protected $redirectTo = ‘/somethingelse’; but in our case we don’t need do that as we are using home as our default redirection page.
#Test Email Verification Support
So let’s create new account see how does this implementation works:
Go ahead and open register page and register new user, make sure to use valid email address if your using SMTP as your mail driver.
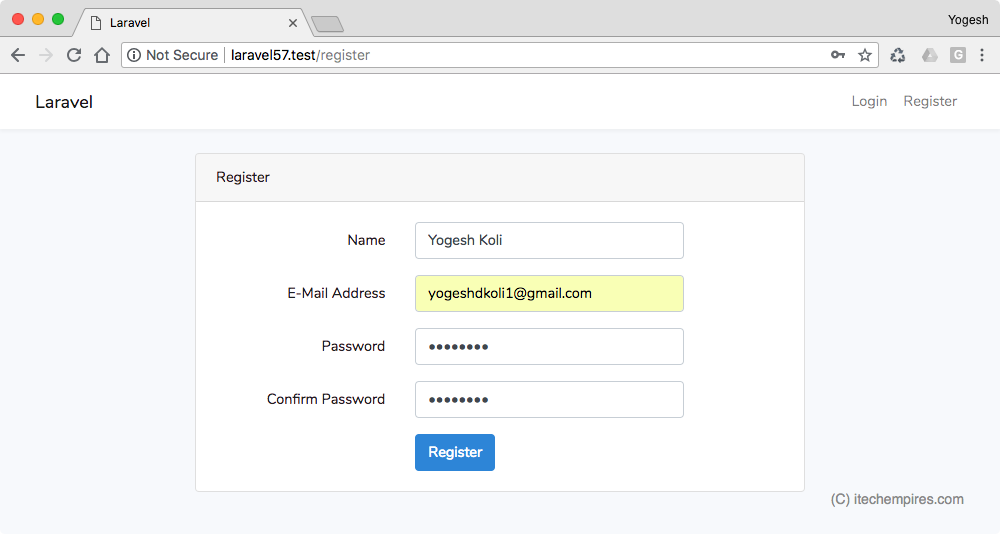
You should get redirected to the verify view, where it way verify your email address:
Check your email inbox for verification email:
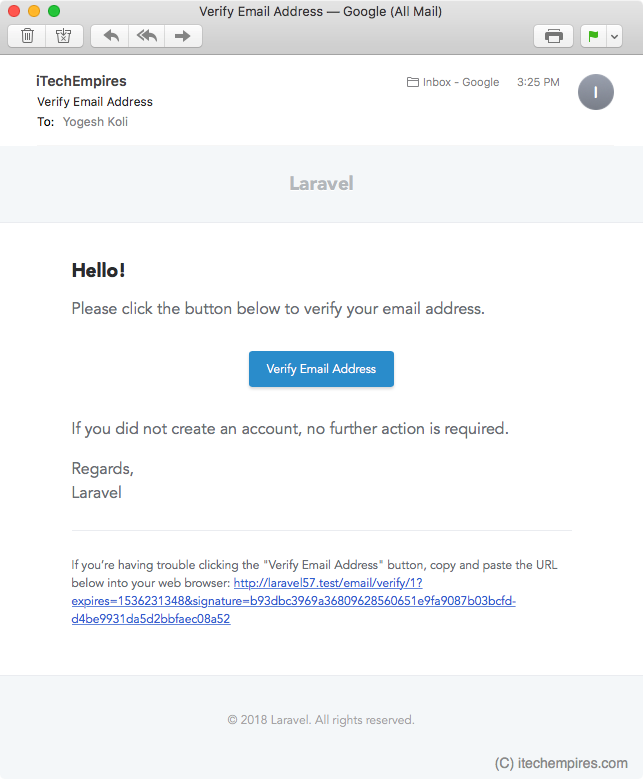
Click verification link and you will be redirected to the home page.
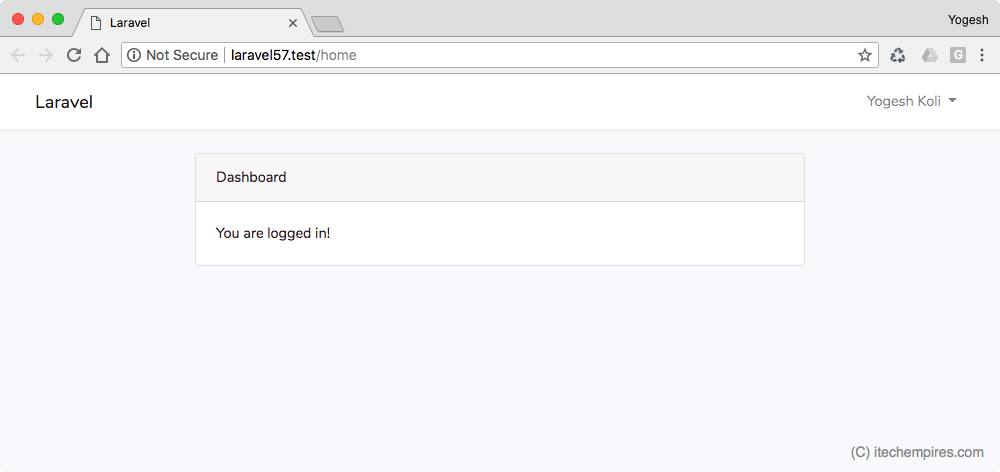
Now if you checkout users table into the database you should see the new records added and email_verified_at has value.
Recommended Tutorial – User Account activation by email verification using PHP MySQLi
We are done, this is new awesome update from laravel 5.7 and I tried to explain in detail, like share if you like the tutorial and don’t forget to comment below if you get any question. Also subscribe to iTech Empires for free email notification on tutorials updates.

Hello, I’ve got an error: nterface ‘IlluminateContractsAuthMustVerifyEmail’ not found
How can I fix it.