
Table of Contents
How to Use Laravel Passport with Laravel 5.5?
Your here to learn about API Authentication Using Laravel 5.5, Laravel provide us a simple and best way to handle API’s. I am going to provide you a details on how you should deal with the API’s we will use Passport here, Passport does the really good interface to work with.
Before going to continue with the tutorial I want to make sure, Do you know what APIs? why should we use them if you an expert developer you can just skip this question and move on to the next step to install and configure your application, but if you a just starting on it and wanted to learn what is API, where we use and why we use API. Let me try to explain a bit for you to get you understandings of it.
What is API?
API stands for Application Program Interface, which means a part or a feature of the application which handles particular operations from the application such as access the data store the data and so on.
Where we use?
As you see in the definition you must got the idea on its usability, yes your thinking right we use them in the web or mobile applications.
Why we use?
Little bit repeating question to answer, but the answer is we use API to provide interface to the other application or may be the part of the same application, it’s all depend on the requirements or use case of the application.
It’s pretty much clear right? let me tell you an important thing about Laravel Passport:
- Laravel Passport is built on League OAuth2 server
- You should be familiar with OAuth2 before using or learning Laravel Passport usage. but don’t worry about it at the start I am going to give an whatever your going to needs to start on the application.
Let’s start to build a sample application using Laravel 5.5 and then move on from there:
Step 1: Create new Laravel 5.5 Application
If you have installed Laravel installer in your development environment then simply use following command to create new application.
$ laravel new api-sample-application
or
Use Composer to create your Laravel project:
$ composer create-project --prefer-dist laravel/laravel api-sample-application
Step 2: Create A Database and configure with Laravel
Simply login to MySQL and create database and open up the .env file and update following settings:
DB_CONNECTION=mysql
DB_HOST=127.0.0.1
DB_PORT=3306
DB_DATABASE=passport
DB_USERNAME=homestead
DB_PASSWORD=secret
of-course your settings would be different from mine, you should add the correct setting and yes you can use different connection provider as well, Laravel gives us flexibility out of the box we can use mysql, sqlite, pgsql or sqlsry.
If you don’t see .env file into your application use following command to quickly generate new key file.
$ php artisan key:generate
Step 3: Install Laravel Passport
Let’s install Laravel passport into our newly created application by using composer with following command:
$ composer require laravel/passport
Passport provider is going to provide us its own database migration right after following above command we just needs to migrate the database, run following command to migrate the database.
$ php artisan migrate
You will see following migrations will run to create required database tables:
Migrating: 2016_06_01_000001_create_oauth_auth_codes_table
Migrated:  2016_06_01_000001_create_oauth_auth_codes_table
Migrating: 2016_06_01_000002_create_oauth_access_tokens_table
Migrated:  2016_06_01_000002_create_oauth_access_tokens_table
Migrating: 2016_06_01_000003_create_oauth_refresh_tokens_table
Migrated:  2016_06_01_000003_create_oauth_refresh_tokens_table
Migrating: 2016_06_01_000004_create_oauth_clients_table
Migrated:  2016_06_01_000004_create_oauth_clients_table
Migrating: 2016_06_01_000005_create_oauth_personal_access_clients_table
Migrated:  2016_06_01_000005_create_oauth_personal_access_clients_table
Step 4: Laravel Passport Configuration
Before going to start using Laravel Passport we need some configuration such as create encryption keys, Update user model, Auth Service provider and Config/Auth.php file.
Generate Passport encryption keys:
Our next step is to Generate Passport keys and clients to generate access tokens, use following command:
$ php artisan passport:install
The command will show you something like this:
Encryption keys generated successfully.
Personal access client created successfully.
Client ID: 1
Client Secret: a6ZTaSekHUNsHT56J1tX2mASxYzRGljOKqEoep9I
Password grant client created successfully.
Client ID: 2
Client Secret: d1GnybAw6aPAm92vOZFbCaQrjKZQNAgrZg62Vexl
It is clearly saying that Encryption keys has been generated and there is couple of client created that Personal Access client and Password Grant client.
Update User Model:
We need to add HasApiTokens trait to our User model, so go ahead and open up /app/User.php file in to your editor and update according to the file showing below:
<?php

namespace App;

use Illuminate\Notifications\Notifiable;
use Illuminate\Foundation\Auth\User as Authenticatable;
use Laravel\Passport\HasApiTokens;

class User extends Authenticatable
{
    use Notifiable, HasApiTokens;

    /**
     * The attributes that are mass assignable.
     *
     * @var array
     */
    protected $fillable = [
        'name', 'email', 'password',
    ];

    /**
     * The attributes that should be hidden for arrays.
     *
     * @var array
     */
    protected $hidden = [
        'password', 'remember_token',
    ];
}
Update AuthServiceProvider:
Open /app/Providers/AuthServiceProvider.php file and add Passport::routes(); inside the boot method, as showing below:
<?php

namespace App\Providers;

use Illuminate\Support\Facades\Gate;
use Illuminate\Foundation\Support\Providers\AuthServiceProvider as ServiceProvider;
use Laravel\Passport\Passport;

class AuthServiceProvider extends ServiceProvider
{
    /**
     * The policy mappings for the application.
     *
     * @var array
     */
    protected $policies = [
        'App\Model' => 'App\Policies\ModelPolicy',
    ];

    /**
     * Register any authentication / authorization services.
     *
     * @return void
     */
    public function boot()
    {
        $this->registerPolicies();

        Passport::routes();
    }
}
Update Config/Auth.php:
Now last step of the configuration setting is to update /config/auth.php file to change the driver option for our api from token to password, as showing below:
    'guards' => [
        'web' => [
            'driver' => 'session',
            'provider' => 'users',
        ],

        'api' => [
            'driver' => 'passport',
            'provider' => 'users',
        ],
    ],
Checkout Routes
We are almost ready to use Laravel Passport package into our application, in this step I wanted to give you a quick look on newly created routes by Laravel passport, to do so php artisan to checkout Laravel routes
$ php artisan route:list
You should see a following list of OAuth routes:
+--------+----------+-----------------------------------------+------+----------------------------------------------------------------------------+--------------+
| Domain | Method   | URI                                     | Name | Action                                                                     | Middleware   |
+--------+----------+-----------------------------------------+------+----------------------------------------------------------------------------+--------------+
|        | GET|HEAD | /                                       |      | Closure                                                                    | web          |
|        | GET|HEAD | api/user                                |      | Closure                                                                    | api,auth:api |
|        | POST     | oauth/authorize                         |      | \Laravel\Passport\Http\Controllers\ApproveAuthorizationController@approve  | web,auth     |
|        | GET|HEAD | oauth/authorize                         |      | \Laravel\Passport\Http\Controllers\AuthorizationController@authorize       | web,auth     |
|        | DELETE   | oauth/authorize                         |      | \Laravel\Passport\Http\Controllers\DenyAuthorizationController@deny        | web,auth     |
|        | GET|HEAD | oauth/clients                           |      | \Laravel\Passport\Http\Controllers\ClientController@forUser                | web,auth     |
|        | POST     | oauth/clients                           |      | \Laravel\Passport\Http\Controllers\ClientController@store                  | web,auth     |
|        | PUT      | oauth/clients/{client_id}               |      | \Laravel\Passport\Http\Controllers\ClientController@update                 | web,auth     |
|        | DELETE   | oauth/clients/{client_id}               |      | \Laravel\Passport\Http\Controllers\ClientController@destroy                | web,auth     |
|        | GET|HEAD | oauth/personal-access-tokens            |      | \Laravel\Passport\Http\Controllers\PersonalAccessTokenController@forUser   | web,auth     |
|        | POST     | oauth/personal-access-tokens            |      | \Laravel\Passport\Http\Controllers\PersonalAccessTokenController@store     | web,auth     |
|        | DELETE   | oauth/personal-access-tokens/{token_id} |      | \Laravel\Passport\Http\Controllers\PersonalAccessTokenController@destroy   | web,auth     |
|        | GET|HEAD | oauth/scopes                            |      | \Laravel\Passport\Http\Controllers\ScopeController@all                     | web,auth     |
|        | POST     | oauth/token                             |      | \Laravel\Passport\Http\Controllers\AccessTokenController@issueToken        | throttle     |
|        | POST     | oauth/token/refresh                     |      | \Laravel\Passport\Http\Controllers\TransientTokenController@refresh        | web,auth     |
|        | GET|HEAD | oauth/tokens                            |      | \Laravel\Passport\Http\Controllers\AuthorizedAccessTokenController@forUser | web,auth     |
|        | DELETE   | oauth/tokens/{token_id}                 |      | \Laravel\Passport\Http\Controllers\AuthorizedAccessTokenController@destroy | web,auth     |
+--------+----------+-----------------------------------------+------+----------------------------------------------------------------------------+--------------+
If you see above routes listed then great Laravel passport package is successfully configured and those routes ready to use.
Step 5: Using Laravel Passport Package
This is important step to follow, in this step I am going to give you details on how we should use Laravel Passport by creating clients, generate access token accessing API etc.
Laravel provide us VueJs Frontend quick start, it has built-in VueJS components out of the box to create new clients and personnel access tokens and list out the clients.
Let’s start to use quick start front end by generating default auth.
Generate Default Auth
$ php artisan make:auth
The above command will give default user auth view and controllers pre-built now you can visit /register or /login to check this out
Generate VueJS Frontend quick Start:
Next let’s generate default VueJs front end quick start component with following command:
$ php artisan vendor:publish --tag=passport-components
Copied Directory [/vendor/laravel/passport/resources/assets/js/components] To [/resources/assets/js/components/passport]
Publishing complete.
VueJS components are ready to use our next step is to register components:
Open /resources/assets/js/app.js and register composer as showing below:
Vue.component(
    'passport-clients',
    require('./components/passport/Clients.vue')
);

Vue.component(
    'passport-authorized-clients',
    require('./components/passport/AuthorizedClients.vue')
);

Vue.component(
    'passport-personal-access-tokens',
    require('./components/passport/PersonalAccessTokens.vue')
);

const app = new Vue({
    el: '#app'
});
We are going to made few changes in user views, go ahead and open /resources/views/home.blade.php and update according to the following script:
@extends('layouts.app')

@section('content')
<div class="container">
    <passport-clients></passport-clients>
</div>
@endsection
by doing this we will have interface where we can create clients.
Install required npm packages
$ npm install
By doing this we will get all required packages to our project so that we compile required dependencies and our newly added VueJs components.
After getting all required packages installed run following command:
$ npm run dev
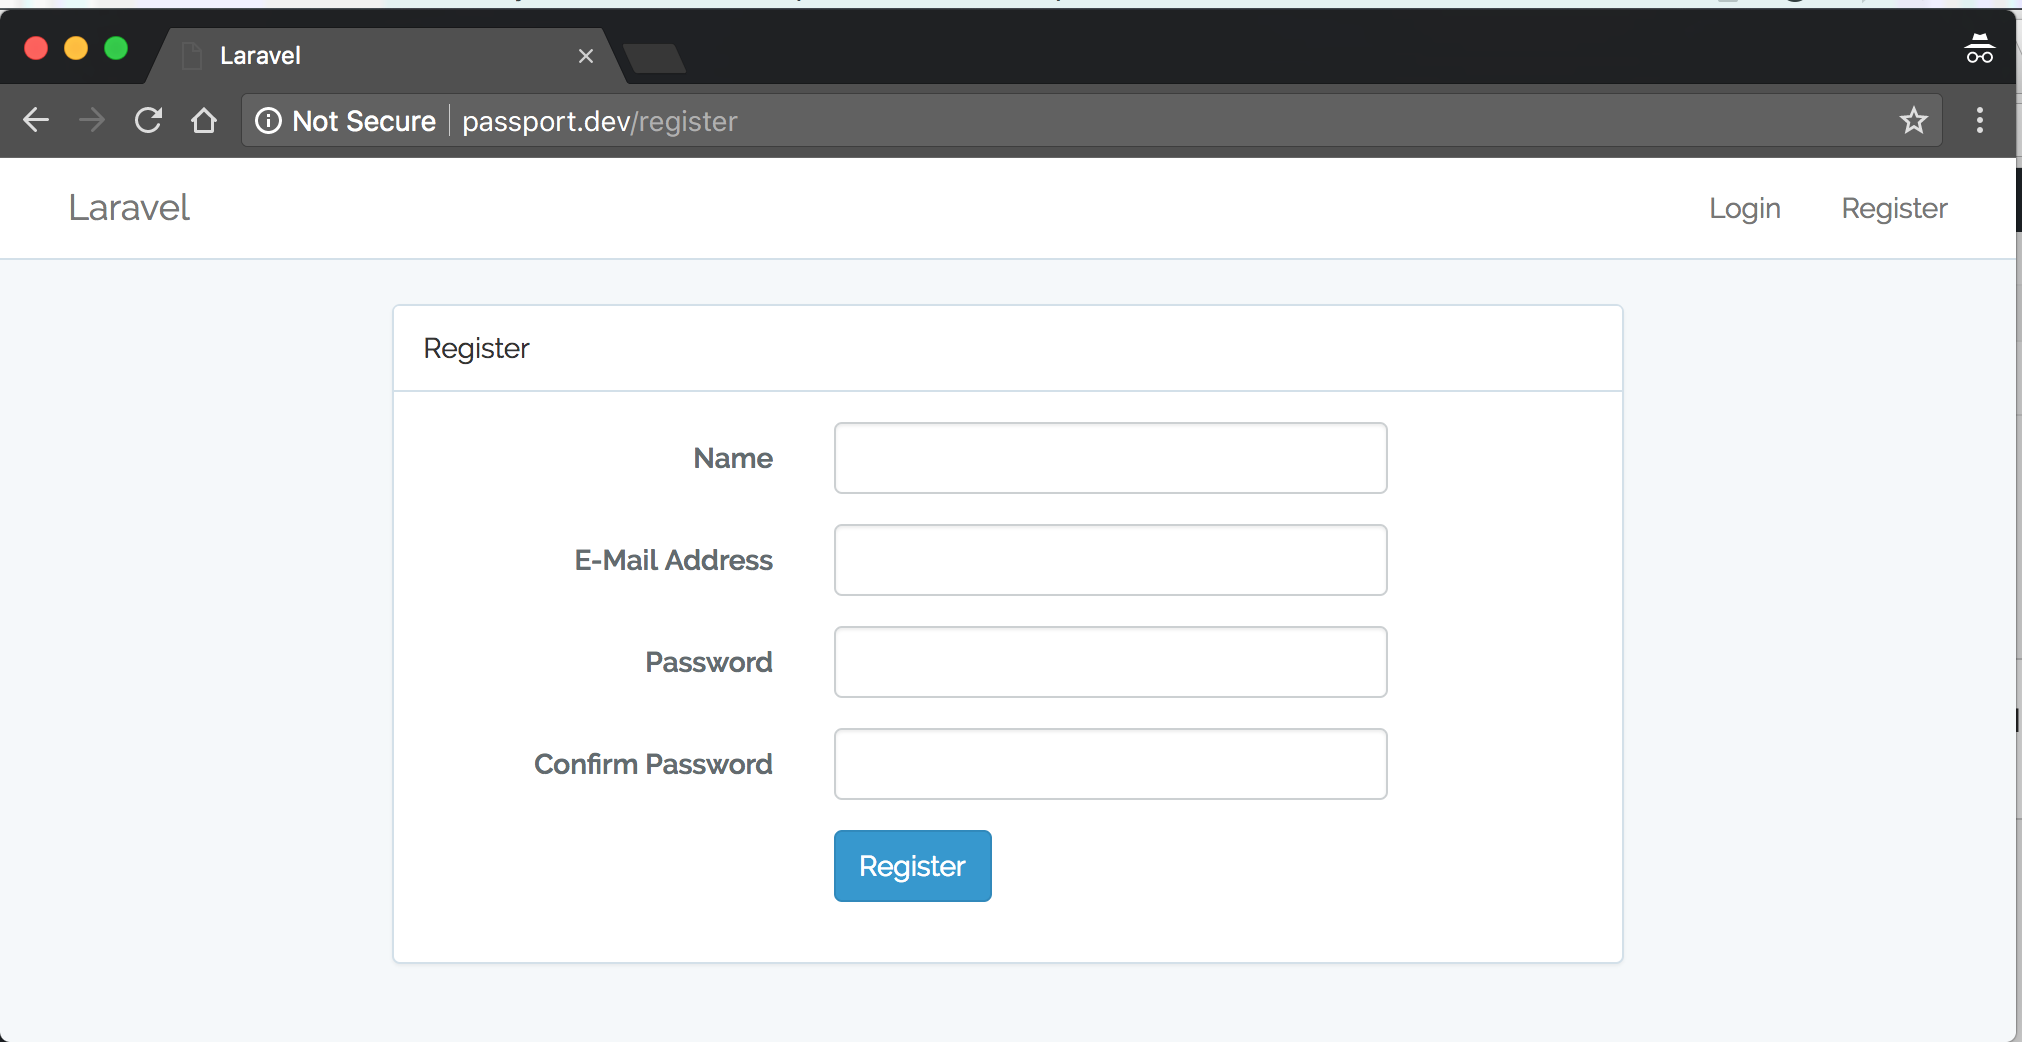
Register new user:
Visit /register and register new user, we are going to user this user to test creating new clients as well as requesting tokens for created clients.
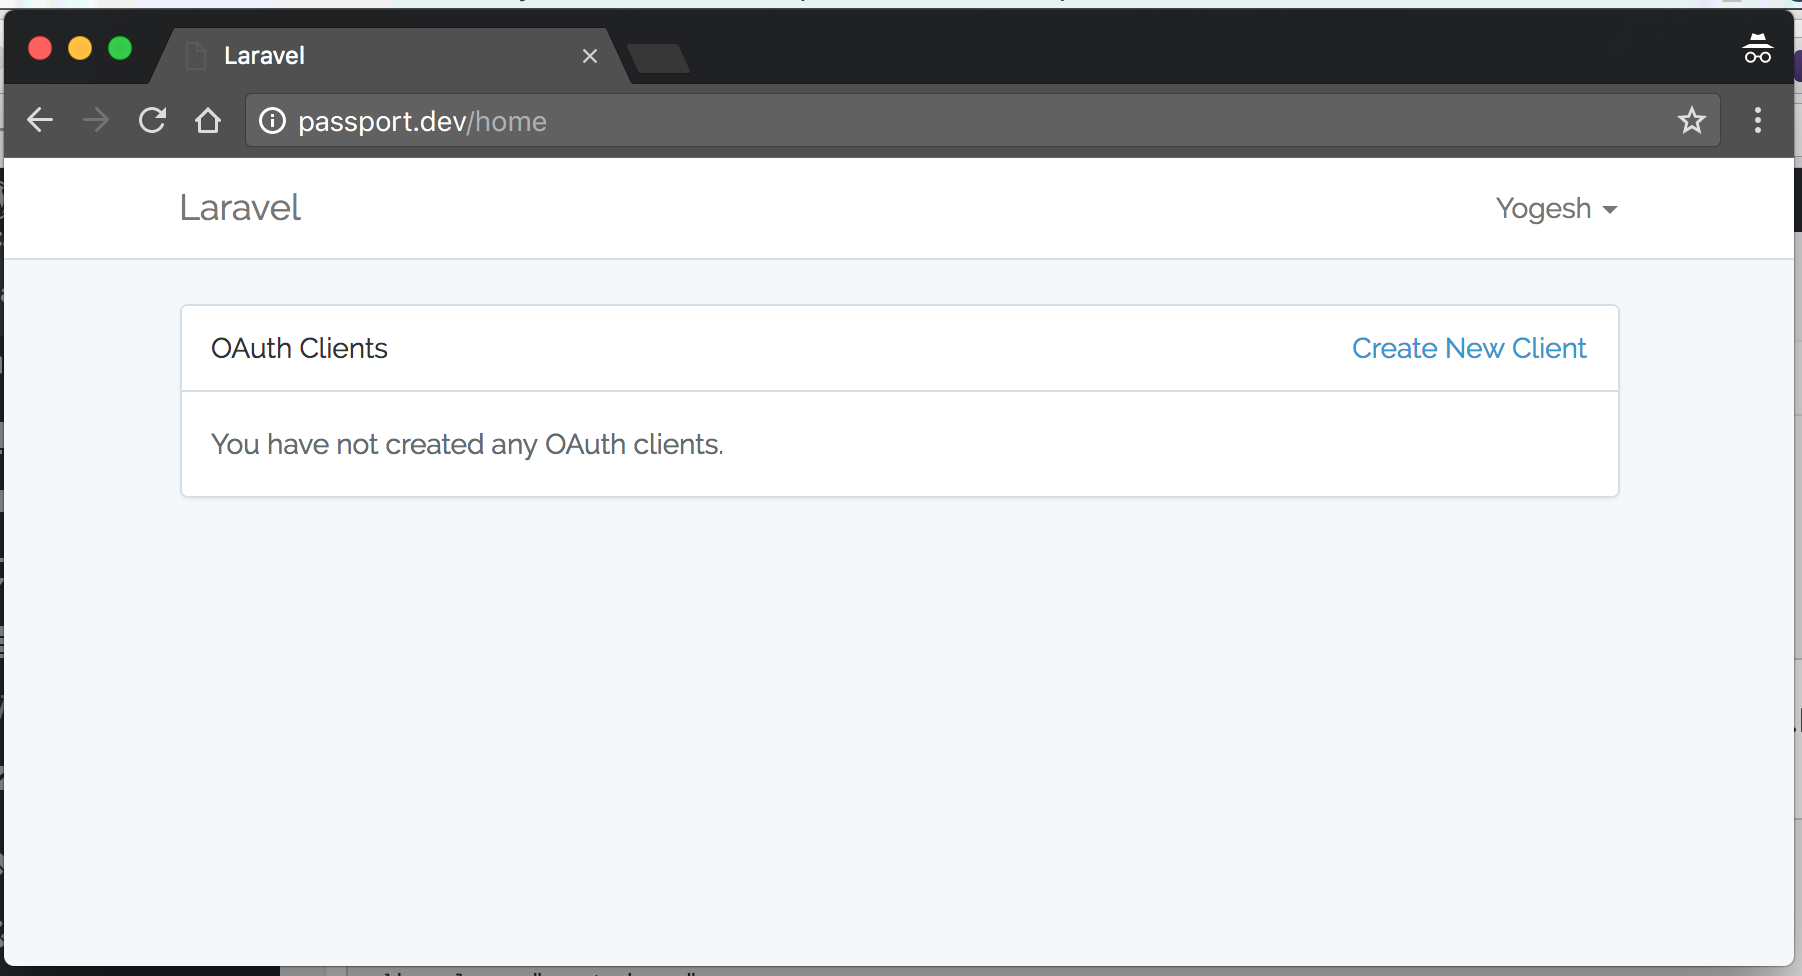
After new user registration you would be redirecting to the home where you will see following screen along with OAuth clients component loaded which is going to be help full to manage OAuth clients:
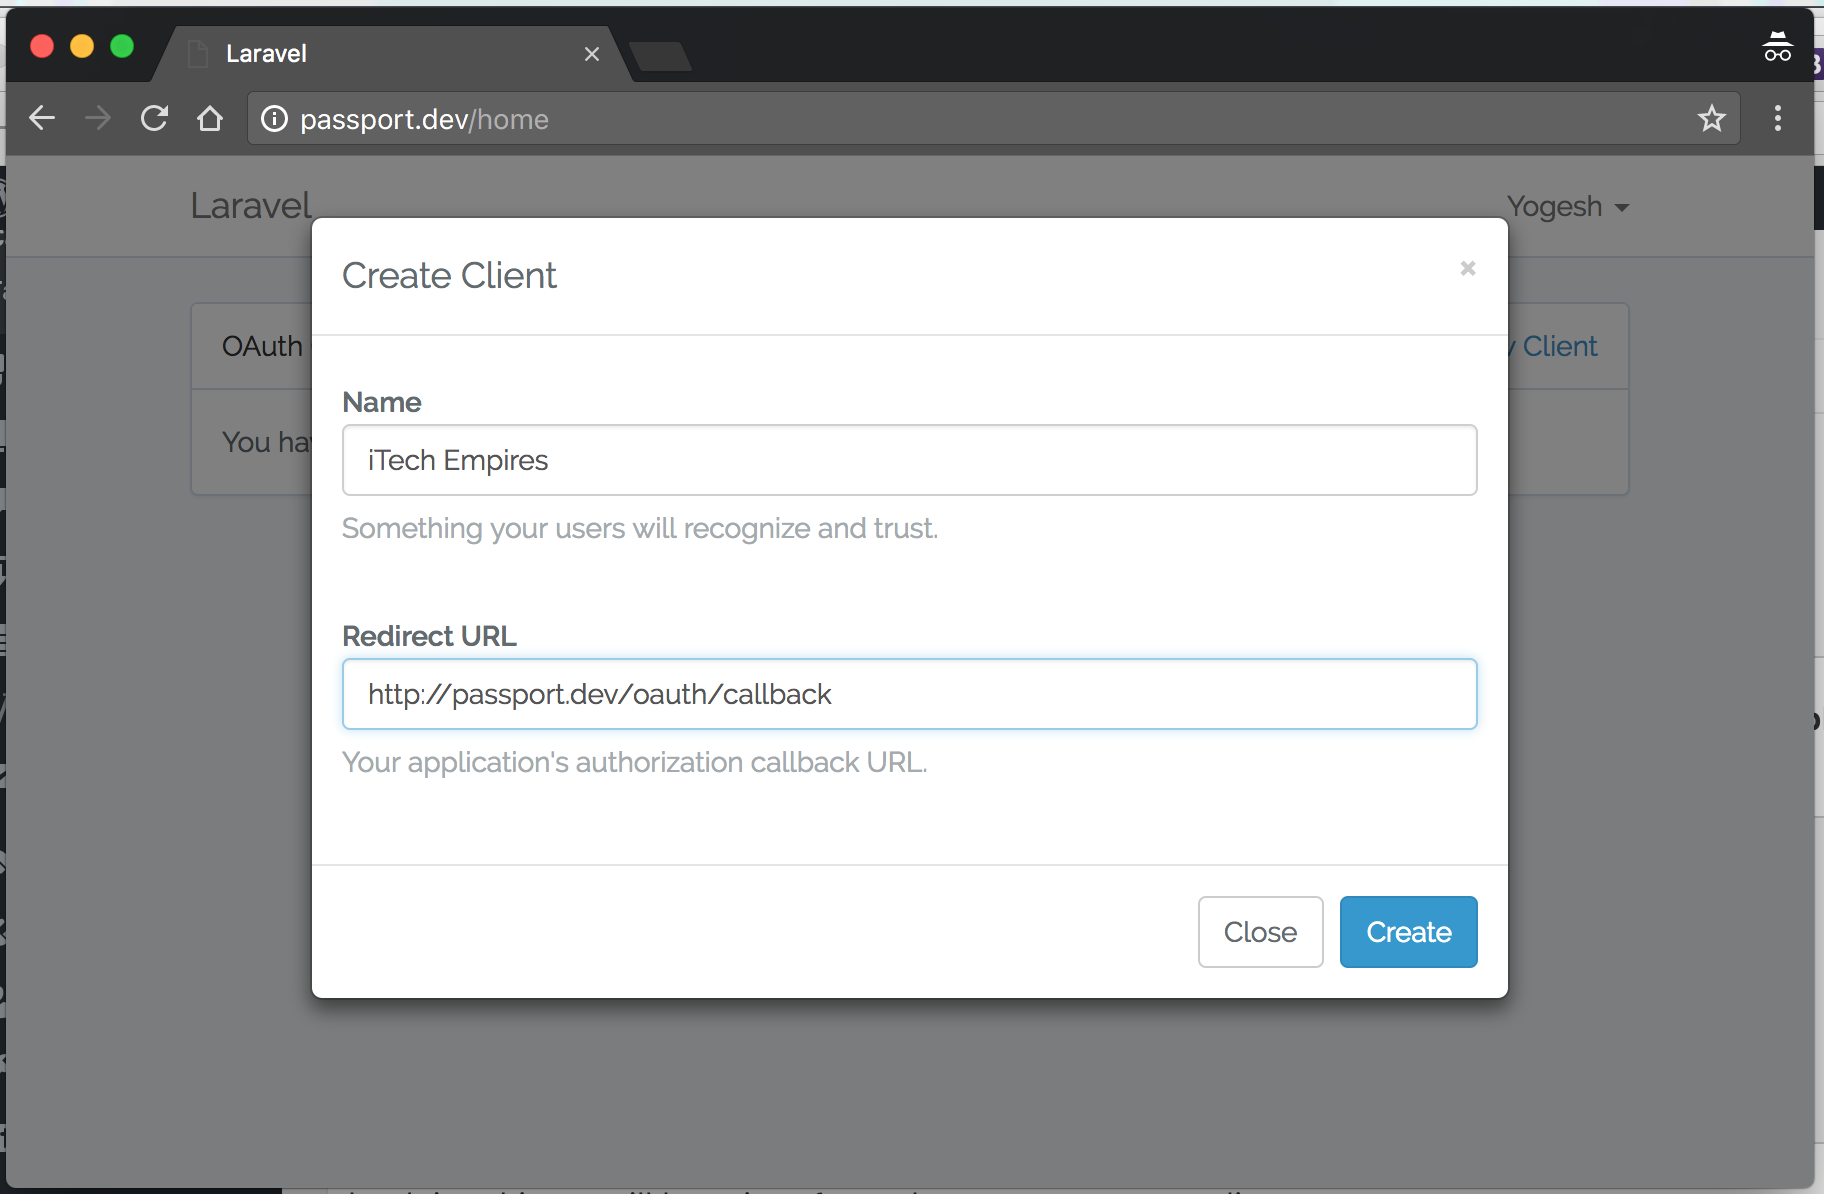
Create New OAuth client:
Click new Create New Client link to create your new OAuth client, please note Redirect URL should be live so that we can test further as name suggest redirect URL is will be used for redirecting back users after authorization to the client’s application.
After creating new client you will see newly created client listed on-screen:
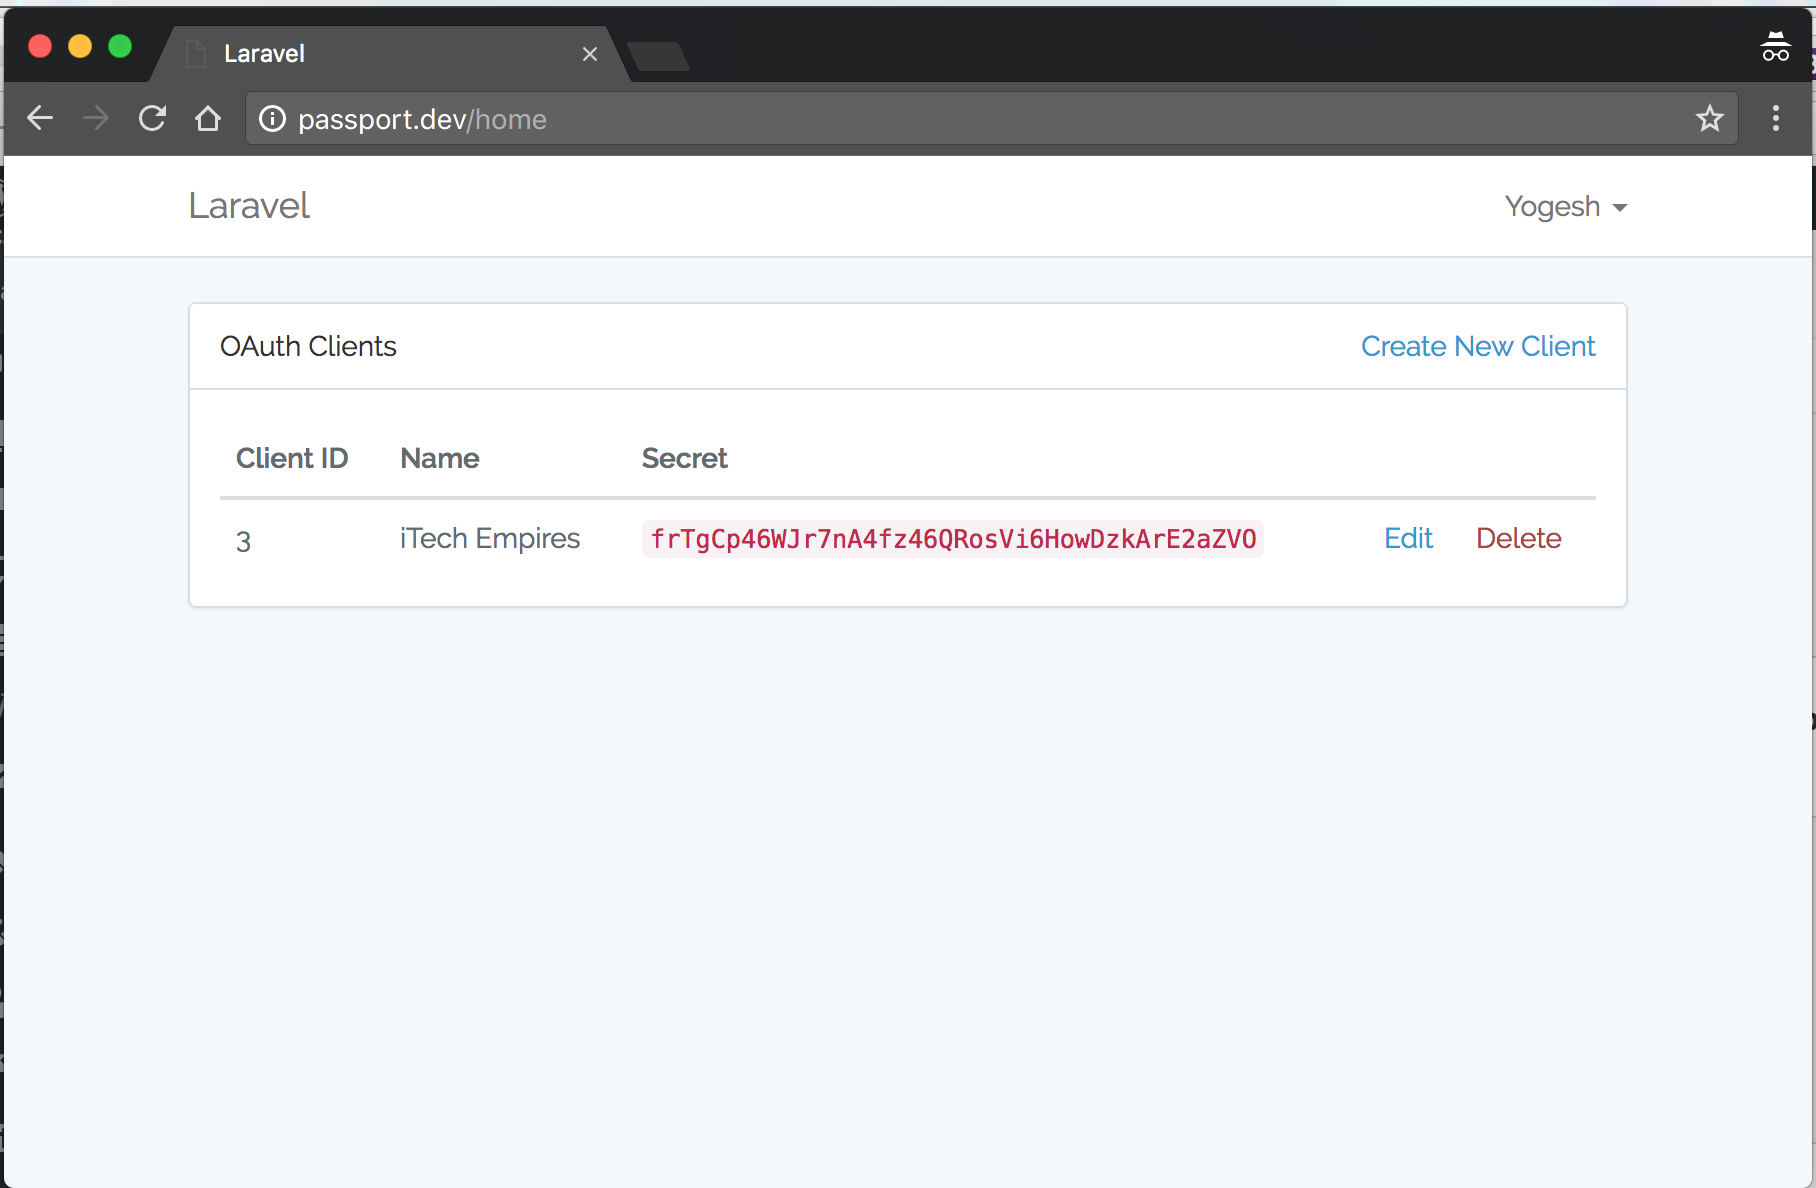
So now are good to start testing our OAuth API’s by using clients, let’s do that in next step.
Test OAuth – Request Token, Authorization and Getting Access Token:
Note: To test out OAuth requesting token we are not going to create another application, you can create if you want that’s better idea that would really simple you can just include all next step into your project, consider this application as base application like google and create another custom app from where you can request token ask users for authorization and so on, I think it’s more clear now let’s move on to the next step to create routes to give token requests.
Create following route, you can use controller if you want but just to make it simple I am going to use it right inside route on web.php file.
So, following route is going to do a simple operations build http query data ad redirect user to application for authorization, make sure to match your client id and redirect uri.
Route::get('/redirect', function () {
    $query = http_build_query([
        'client_id'     => '3',
        'redirect_uri'  => 'http://passport.dev/oauth/callback',
        'response_type' => 'code',
        'scope'         => '',
    ]);

    return redirect('http://passport.dev/oauth/authorize?' . $query);
});
Next..
Create another route to accept call back response, make sure to update all form params such as client id and client secret.
Route::get('/oauth/callback', function () {

    $http = new GuzzleHttp\Client;

    if (request('code')) {
        $response = $http->post('http://passport.dev/oauth/token', [
            'form_params' => [
                'grant_type'    => 'authorization_code',
                'client_id'     => '3',
                'client_secret' => 'frTgCp46WJr7nA4fz46QRosVi6HowDzkArE2aZVO',
                'redirect_uri'  => 'http://passport.dev/oauth/callback',
                'code'          => request('code'),
            ],
        ]);

        return json_decode((string)$response->getBody(), TRUE);
    } else {
        return response()->json(['error' => request('error')]);
    }
});
As I said, the above route is going to handle call back request from the OAuth and keep in mind we are going to use GuzzleHttp\Client here to handle http requests, so here we are simply sending post request along with the few required parameter and response code which is comes after user authorization and then next for we are simply display response in form of json you can customise as per your requirement.
Let’s test the above two routes.
Simply point your browser to /redirect url if all goes right to your development you will see login screen:
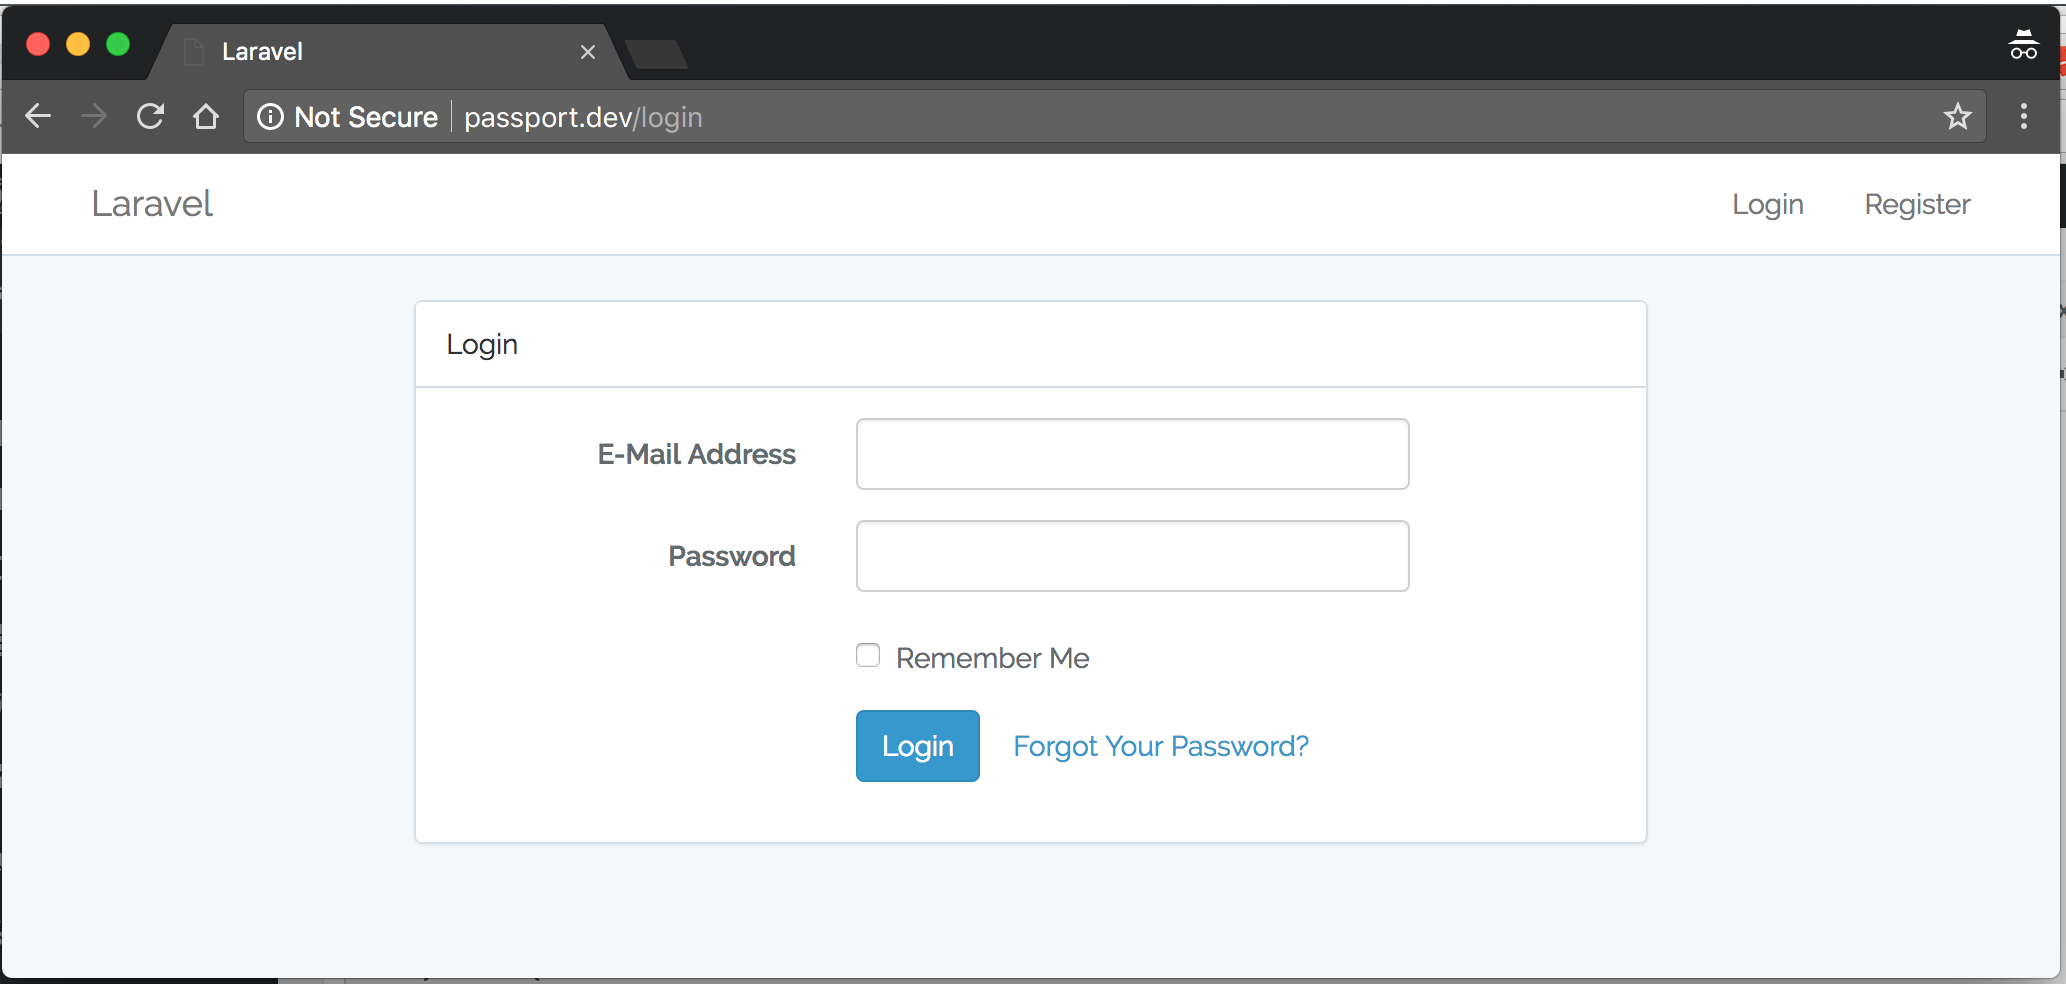
Enter login credentials of the same user that we had created in the above step to crate clients or you can create another user if you want just so you won’t get confuse.
Now if your login is successful then it will ask you for authorization request conformation as showing below:
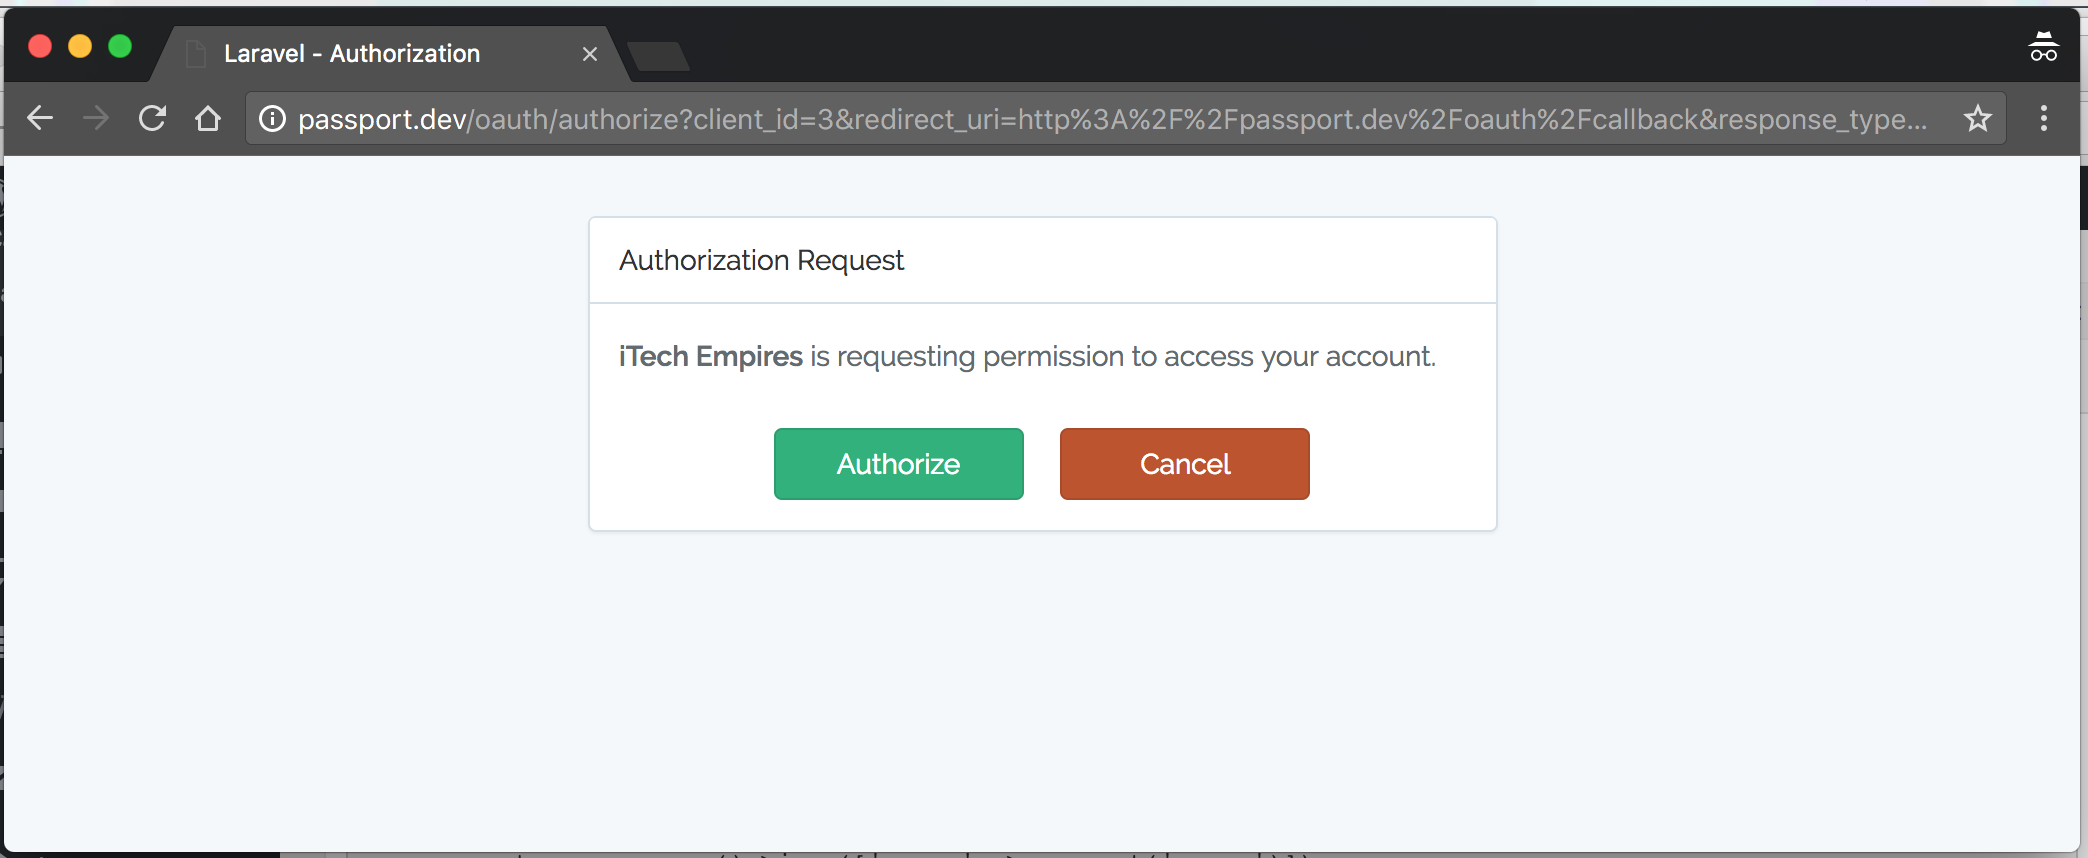
Next click on Authorize button to get your requested access token:
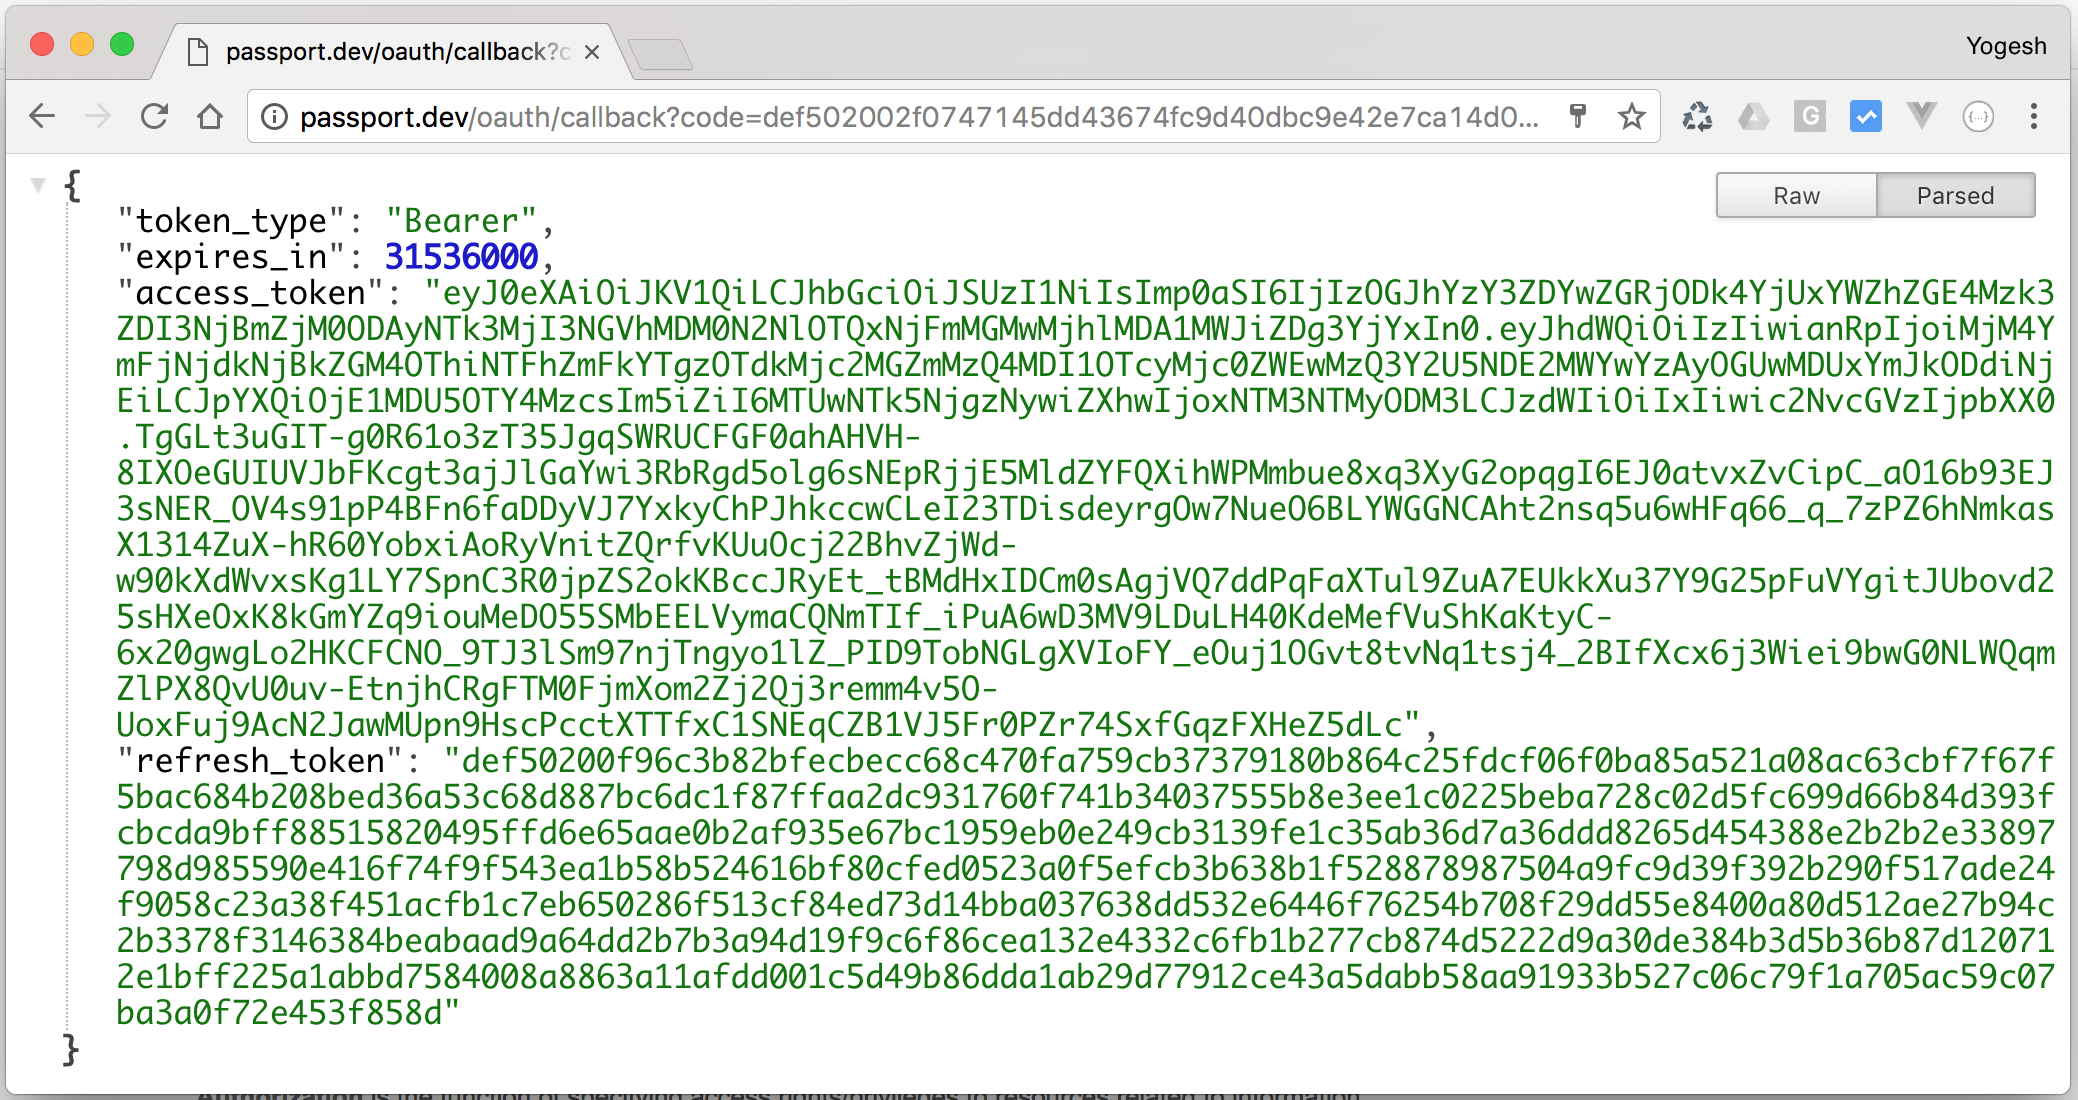
The above response is consist of an access token, refresh token and token expiry times stamp, now you free to customise your application with this access tokens store this data to request further API calls.
I hope you got the clear idea on how you should deal with Laravel Passport Package along with Laravel 5.5.
Let me know your thoughts about this tutorial or if you have any question by using comments box below, see you in next tutorial.
Thank you!
Download this project on Github
Hi, at php artisan migrate give me this error:
“Migration table created successfully.
[IlluminateDatabaseQueryException]
SQLSTATE[42000]: Syntax error or access violation: 1071 Specified key was too long; max key length is 767 bytes (SQL: alte
r table `users` add unique `users_email_unique`(`email`))
[PDOException]
SQLSTATE[42000]: Syntax error or access violation: 1071 Specified key was too long; max key length is 767 bytes”
What’s the problem?
Are you using Laravel 5.4 or Laravel 5.5 ?
Try doing following fix:
Edit your AppServiceProvider.php file and inside the boot method set a default string length:
use IlluminateSupportFacadesSchema;
public function boot()
{
Schema::defaultStringLength(191);
}
After doing this use following command to refresh migrations:
$ php artisan migrate:refresh
Let me know if this solution works for you!
~ Yogesh
or you can fixed by upgrade mysql to 5.7
hi, when i click the authorize button gives me endless recursion browser. please help. tanx
@keemerlloydfabrocobo:disqus you must be having redirect issue back and forward.. that’s what it’s causing an issue, Checkout the error logs more details.
Here’s my code
Route::get(‘/redirect’, function () {
$query = http_build_query([
‘client_id’ => ‘3’,
‘redirect_uri’ => ‘http://localhost:8000/oauth/callback’,
‘response_type’ => ‘code’,
‘scope’ => ”,
]);
return redirect(‘http://localhost:8000/oauth/authorize?’ . $query);
});
Route::get(‘/oauth/callback’, function () {
$http = new GuzzleHttpClient;
if (request(‘code’)) {
$response = $http->post(‘http://localhost:8000/oauth/token’, [
‘form_params’ => [
‘grant_type’ => ‘authorization_code’,
‘client_id’ => ‘3’,
‘client_secret’ => ‘bHAE7yEtXwkguUBKpLbunMYGHA36pvt6rifO4MTP’,
‘redirect_uri’ => ‘http://localhost:8000/oauth/callback’,
‘code’ => request(‘code’),
],
]);
return json_decode((string)$response->getBody(), TRUE);
} else {
return response()->json([‘error’ => request(‘error’)]);
}
});
same thing here, endless loading after authorizing
hello dear i need your help
I am also experiencing the same issue. 30 minutes after I pressed Authorize the site is still loading
I love you, guy! Really Thank you!
Great, nice to have you on iTech Empires.
I love you, guy! Really Thank you! I can’t speak English very well ! You gave me a lot of help just now !
I got this error:
“Object of class IlluminateRoutingResponseFactory could not be converted to string”
Doing a post to : http://127.0.0.1:8000/api/register?name=Daniel&password=1111&c_password=1111&email=dbogarin@gmail.com
Do you know what is wrong?
When I run this cmd “php artisan migrate” it shows me error like -https://uploads.disquscdn.com/images/de657f702d94607487b7e5715ce2b64e967c6f9d5cf4026198ec5870771797d2.png
this will happen when database can not connect. try to check your database config, and make sure use mysql 5.7
All worked great thanks, but how to customize vender/laravel/passport/resource/view/authorize.blade.php
i need to change this view.
Thanks i follow instruction and completed it once again thanks